How To Shrink a CF Card
Some devices will not work if you insert a Compact Flash card that is too large a capacity. For example, some older professional cameras will only accept up to 512 MB CF cards, so if you bought a 1 GB card or above and inserted it, it simply wouldn't be detected or it would present you with an error.
Another example is when using Compact Flash cards as a replacement for a hard disk in an older computer. From the late 80s and into the 90s we saw hard disk capacities rise rapidly. A computer from 1988 and running DOS has a number of limitations with what it can detect.
The good news is that with a few commands you can prepare a larger CF card to appear as though it's much smaller to the device or PC you're trying to use it on.
For this process you will simply need a modern PC running Windows 2000 or newer, a Compact Flash card reader, and your CF card. Follow the steps below to shrink the card:-
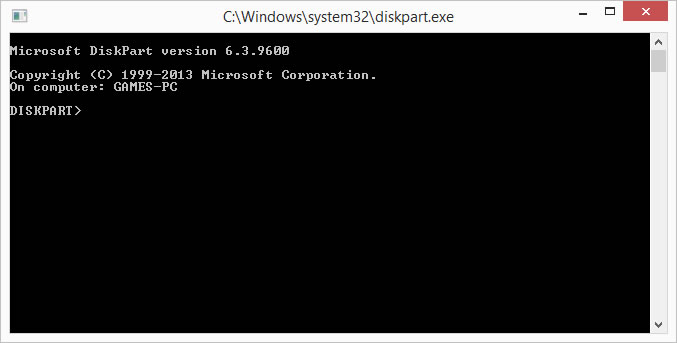
1) In Windows, open a command prompt and run Diskpart (Diskpart was Microsoft's replacement for the DOS FDISK command):
2) When you see the DISKPART> prompt, enter 'list disk'. All the drives visible to Windows will be shown in a table: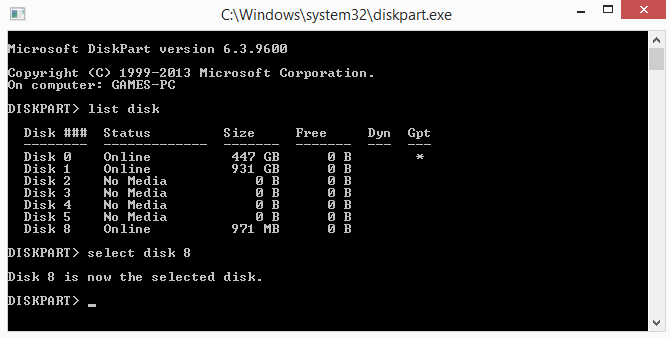
3) Identify your Compact Flash disk in the list. In my case above, I know I have a 500 GB SSD drive which is my system disk with Windows on it (so that's Disk 0), and I have a 1 TB hard disk as well (that's Disk 1). I also have a multi-card reader fitted, which explains Disks 2 through 5, and I know my CF card has a current capacity of 1 GB. This appears as 971 MB as it's already been formatted (due to the nature of how operating systems tend to write data to a disk in 'clusters' you always get less storage capacity after formatting), so my CF card is Disk 8.
4) Now run 'select disk X' (where X is the number of the disk for your CF card, followed by 'list volume':
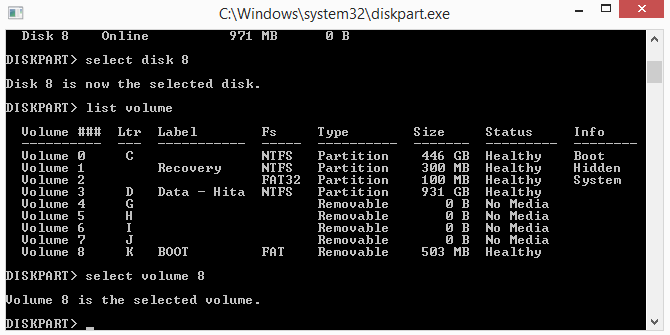
5) This lists all the 'volumes' (drive letters) visible by Windows. We 'selected' the disk first to tell diskpart that all subsequent commands are to be executed on that physical disk only. Identify the 'volume' you want to shrink. In my case above it's volume 8 (K:). [My apologies but the screenshot above was taken after shrinking, hence why the size is already shrunk down to 503 MB!].
6) Now run 'clean all' (this can take 10 minutes, sometimes longer on a 4 GB Compact Flash card). When that has completed, run 'create partition primary' followed by 'shrink querymax'. This will display the total number of MB diskpart can shrink the volume. Calculate what your desired size is with this formula:
shrink amount = [displayed querymax figure] - [desired size in MB]
and run 'shrink desired X' where X is the shrink amount you just calculated. In my case, the [displayed querymax figure] was 970 and my [desired size in MB] is 500, so my 'X' number is 470. Diskpart will now shrink the volume down to the new size. The above steps all happen instantly.
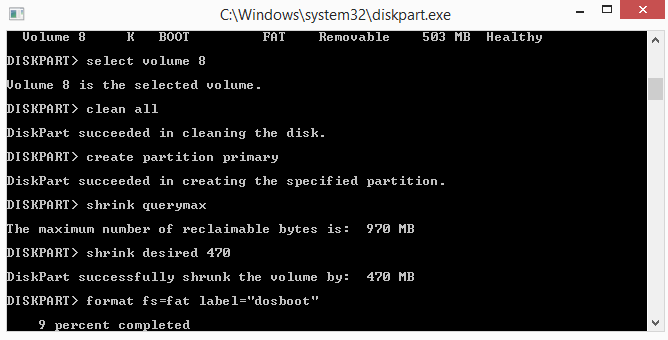
7) Finally, run 'format fs=fat label'"X"' where X is a name you can choose for your cf card - this may take 5 minutes or longer, depending on the new size you've chosen.
8) Once formatting is complete your card is ready! Devices will now only see the new smaller first partition you just created rather than the whole CF card!
9) Run 'exit' to close Diskpart and close the command prompt.
Incidentally, the CF card will remain at this new shrunken size (with part of the card 'unallocated') until you re-run the steps above without shrinking it, so running the 'format' command in Windows will only see the shrunk partition and reformat that.
Another point to note is that the above procedure will not alter the 'removable' flag to make your CF card appear as a fixed disk - some devices including old PCs will often only boot from a CF card if it sees it as a fixed disk rather than removable media.